
What You Need to Know Before Installing a New Centrifugal Pump
As part of Service Pump’s free training opportunities, we recently offered a virtual Centrifugal Pump Installation, Maintenance, and Troubleshooting course. We’ve broken down key topics from that course in this blog series, which shares expert strategies to ensure proper installation and tips to maximize the life of your pump.
Starting with a good pump installation can save you time, money, and frustration in the future. In the video below, SPS Vice President Danny Spears and Sales Manager Charlie McKenzie share step-by-step instructions for correctly installing a new centrifugal pump.
Top Tips for Centrifugal Pump Installation
Before you get started with installation or maintenance, ensure you’re following all safety procedures and guidelines. Then, ensure the pump you’re installing has an adequate base and is as level as possible. The next step is to avoid pipe stress. Too much stress can create premature failure in your pumps and motors.
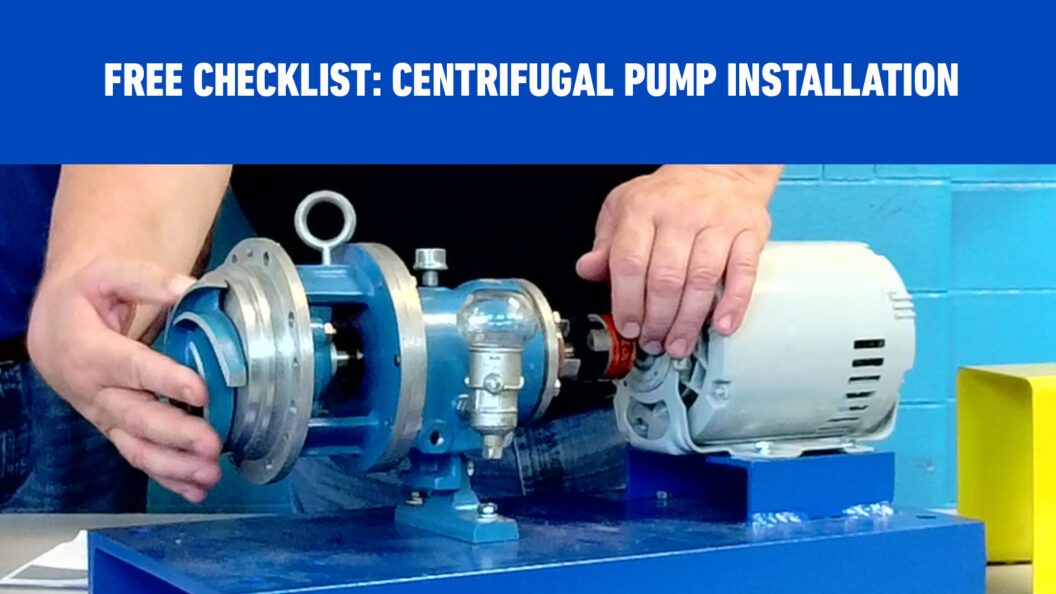
Take it with you! Download our checklist to make sure your new centrifugal pumps are installed correctly every time.
Verify for proper rotation before installing couplings, and confirm that all screws are tightened and keys are in place. If your pump has a metal-to-metal design, lubricate couplings with grease as per the manufacturer’s recommended instructions. Be sure to also check the lubrication requirements for the pump and driver. Refer to the Installation, Operation, and Maintenance (IOM) manual for the proper lubrication type and amount. Then, install the coupling guard and verify the system and pump are ready for startup. Before applying power, verify that all valves are open and as much air as possible is purged from the system.
Once you apply power, check the voltages, pressure, flow, and amperages. Be sure to write down these readings to keep as your baseline numbers for documentation. Not sure where to keep this information? Download our free checklist and keep all your centrifugal pump installation information in one spot!
Remember, we offer 24/7 support if anything goes wrong. Give us a call at 1-800-480-7867 if you have questions or need assistance.
Related Articles
- Your Complete Guide to Maintaining Pump Systems
- 6 Tips to Perform Winter Maintenance for Pump Systems
- Problems in the Field? 5 Ways Our Team Can Help
Transcript
Danny Spears: Welcome everyone. This is the first segment of the training today. New installation, which is a very important part of installing a pump. You start out with a good installation, it will save you a lot of maintenance and headaches down the road.
Charlie McKenzie: Before you start to perform any type of maintenance or work, you always want to make sure you got the power locked out, any valves or anything that could cause movement, any potential energies locked out. Once you’ve achieved all that, then you can remove the guard, then uncouple your pump from your motor, check your rotation. Then after that you want to put it all back together. And put your guard back on it before you start it. Never start it without the guard on it. And then you can take your lock off and go ahead and start your procedures.
Danny Spears: First thing to do is check to make sure an adequate base. This is a little pump with a little motor, so this channel base is very well suited for this type of setup. You want to anchor it down or there’s usually anchor places, to try and get it leveled up as best as possible. Sometimes, you may have to even concrete or grout it in. The more level or more solid the foundation you got, the better off. This keeps the vibration down and helps save money in the long run, but you can have failures. The other thing that comes up a lot is pipe stress. This particular pump is centrifugal. It’s very key to have minimal pipe stress. You want to have the pipe is supported on its own, not having it supported by the pump. Because even with cast iron housing pumps, they will flex and when you have something flex like a housing, it will create premature failure on the seal and bearings. If it’s bad enough, it will actually crack the flanges, catastrophic failure. Once you got all your piping set up, you want to perform a leak test. Open your valves, check and see what you got as far as pressure-wise, all your flange pumps are tied, gaskets in place, make sure you’re not leaking through your mechanical seal or your packing, which is in this area here. Then you’ve got to double-check for proper rotation. Which, normally this wouldn’t do. You’ve got a flexible cup right here in the middle. If you can disengage it. Because on some pumps, especially like this one, for instance, if you work around backward, there’s a good chance you’re going to spin the impeller off. And it will be like a jackscrew, it will bust the shaft or head or impeller. Because if you turn it in the wrong direction, this will actually unthread. The wrong direction will be that way, so the normal direction would be rotating in this direction. Once you determine your rotation is correct, couple it back up, make sure all your set screws or bolts or whatever type of coupling you got. This particular one’s a lubjoint. It’s a simple coupling, it’s got fingers that interlock with the rubber element. But no matter what you got, even though it’s a flexible coupling, you want to get it as perfectly aligned as possible. Which you’ve got the capability of doing.
What you’ve got installed, coupling if it’s on some couplings, you had to grease them. They had what you call a reflex, like a Falk reflex. They’ve got like an airlocking, it looks like a spring, it goes on both sides of the couplings, and you have to put lubrication in there. Once you’ve got all that said and done, then make sure you install your coupling guard. You want to cover the rotating shaft. Or somebody can inadvertently stick their fingers in, or get a piece of clothing caught into it. Once we’ve verified all the valves are open, we start this up. Wait off the air, What’s this got, a lubricator, a side-level lubricator like this one, you’ve got to make sure you’ve got it set to the proper height. There’s a line, the ones that had these usually were old, level has to be. You know a lot of them are grease lubricated, so what the proper installation of those, to that effect.
Then you’ve got to apply power to it, check your voltages, your amperages, and with anything, as in previous classes, document all that stuff. Document your voltages document your amperages, pressure flow. You want to have that stuff as a baseline when you first start out. Because if you call in, to us, or any type of company, those numbers, what you’re getting out, will help diagnose the issues. Think first, you know, check to make sure your pump is actually doing what it’s designed to do. Then the pressure’s supposed to be doing and the flow, you’ve got a flow meter. All right, thank you, everyone.